[vc_row][vc_column][vc_column_text]Get in on the nail art trend with this innovative tie-dye technique. It’s a little tricky at first, somewhat messy and quite time consuming – but don’t let that put you off, because the looks you can acheive are well worth the effort. [/vc_column_text][/vc_column][/vc_row][vc_row row_width= »full-width »][vc_column][vc_text_separator title= »What you’ll need »][/vc_column][/vc_row][vc_row row_width= »wide » row_gutter= »none »][vc_column][x2764tech_products products= »7591|7621|7521″][x2764tech_products products= »7611|7591|7621|7521″][/vc_column][/vc_row][vc_row row_width= »full-width »][vc_column][vc_text_separator title= »The Steps »][/vc_column][/vc_row][vc_row row_width= »wide »][vc_column width= »1/2″][vc_single_image image= »7861″][vc_column_text c_id= ».vc_1444899037750″]
Step 1
Paint nails with a base coat and apply moisturiser on the skin surrounding the nail. The nail polish will adhere better to the base coat, and will be easier to remove from the moisturised skin.
[/vc_column_text][/vc_column][vc_column width= »1/2″][vc_single_image image= »7871″][vc_column_text c_id= ».vc_1444899043072″]
Step 2
Loosen all the lids of the polishes you are going to be using, and set them within easy reach. This will allow you to work as quickly as possible.
[/vc_column_text][/vc_column][/vc_row][vc_row row_width= »wide »][vc_column width= »1/2″][vc_separator][vc_single_image image= »7851″][vc_column_text c_id= ».vc_1444899048925″]
Step 3
Draw the brush out of the first nail varnish bottle, keeping the brush loaded with polish. Holding it close to the water surface, allow a drip to fall onto the water. You should see the polish drip disperse across the surface to form a thin film.
Select your next polish quickly, and repeat the process, aiming for the centre of the first layer of polish.
[/vc_column_text][/vc_column][vc_column width= »1/2″][vc_separator][vc_single_image image= »7891″][vc_column_text c_id= ».vc_1444899055213″]
Step 4
Repeat this process again, with contrasting colours. Aim for around 8 layers of colour.
Take a cocktail stick and drag it gently through the colours to create a pattern. Avoid the outer circle as this is likely to have begun to dry already!
[/vc_column_text][/vc_column][/vc_row][vc_row row_width= »wide »][vc_column width= »1/2″][vc_separator][vc_single_image image= »7881″][vc_column_text c_id= ».vc_1444899061711″]
Step 5
Place your nail into the nail polish pattern and push your finger right down into the water.
Use the cocktail stick to remove the remaining polish from the water surface and remove your finger from the water.
[/vc_column_text][/vc_column][vc_column width= »1/2″][vc_separator][vc_single_image image= »7901″][vc_column_text c_id= ».vc_1444899070182″]
Step 6
Use your nail polish remover to carefully clean the excess polish from your finger and tidy up the edges of the nail.
Allow the nail to dry and admire your nail art![/vc_column_text][/vc_column][/vc_row][vc_row][vc_column][vc_separator][vc_single_image image= »7951″][vc_column_text c_id= ».vc_1444899077341″]
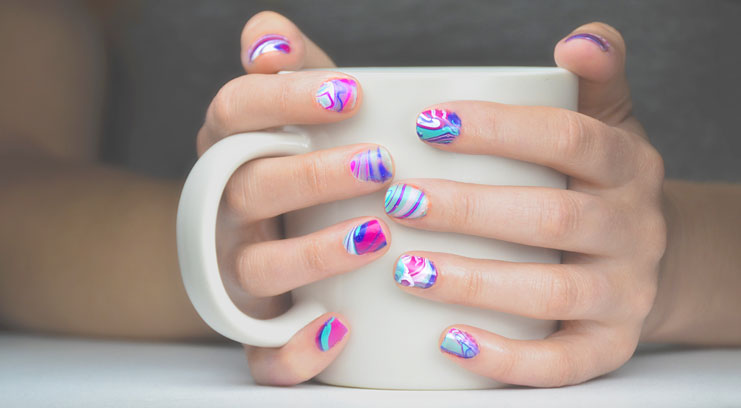
Step 7
Repeat these steps for all your nails. Alternatively, try using the marbling technique for accent nails such as the ring fingers and/or thumbnails.
Seal your design with a glossy top coat.
[/vc_column_text][/vc_column][/vc_row]